So frankly, these are just as delicious as they look. It all started with getting this delicious Hawaiian Sun Guava Jelly as a gift from my co-worker. She bought it at this local Hawaiian market in San Mateo called the Takahashi Market.

Next I found some Green Tea Matcha Powder at our local Trader Joes. This can be purchased at almost any grocery store, just look in the tea or coffee section. If your Safeway or large brand grocer doesn't have it, check your local Whole Foods or equivalent store, they should have something very close.
The rest is essentially following the typical French Macaron recipe:
Electric mixer (hand/stand mixer will do as long as you have a whisk and regular beater attachments)
Good heavy/thick baking sheets that won't warp in the oven
2-3 Silicone macaron baking sheets (I got these ones from Amazon and love them!)
Silicone spatula
Hand whisk
Kitchen scale
Set of mixing bowls
Sieve or flour sifter
Pastry bag and round tip with attachment
Shells Baking ingredients:
100g Almond flour (I prefer Mama's Almond Flour Blend. It's much finer than other almond flour/meal)
200g Powdered/confectioner's sugar
40g plain sugar
2 tablespoons Green Tea Matcha Powder
3 egg whites at room temperature (approximately 100g)
Green Food coloring gel (optional)

After sifting the measured almond flour and powdered sugar together, I whisked in the green tea powder. Set the powder mix aside and you can separate the egg whites, add the pinch of salt, and whip the whites into a meringue. Just before they're reached their stiff peaks, I added a drop of green food coloring.

Next you can start what is called the "macaronage" phase. To incorporate the dry mix into the meringue, you can put away your electric mixer, you will only need your silicone spatula. Add about 1/4 - 1/3 of the dry mix into your meringue bowl and begin to fold in the mixture. Scrape around the bowl and then press down, but be sure to make sweeping scrapes from the bottom up. You don't want to end up with a big dry glob on the bottom. Keep adding increments of the dry mixture and folding in between each addition. In the end, you should have a batter the texture of lava. **Again in this step it's important not to under-mix or over-mix the batter. It should be smooth with slow flowing ribbons when you pick up the spatula**

This is what your batter should look like when you've reached the ideal "lava" texture.

Next you can get to piping!

I also found this fun flower/star mold on Amazon as well! Fair warning, it's a little more tricky to pipe these ones, so if you're a beginning just stick to the rounds.

Let them rest at room temperature in the molds for 30 minutes. When the 30 min are close to up, start pre-heating your oven to 325 deg F. While it's pre-heating, you can whip together the filling!
Guava Buttercream Filling:
1 stick unsalted butter (softened/room temp)
250g powdered sugar
1/2 jar of Guava Jam (or your favorite jam to taste!)
1 drop of pink gel food coloring (optional)
Beat the soft or room temperature butter with your mixer until it's creamy and then you can start to add in gradual amounts of the powdered sugar. Once it's all incorporated, you can start adding in increments of the jam. I kept adding in heaping spatulas full of it until about half of it was mixed in. I added a single drop of pink gel food coloring to really enhance the flavor.
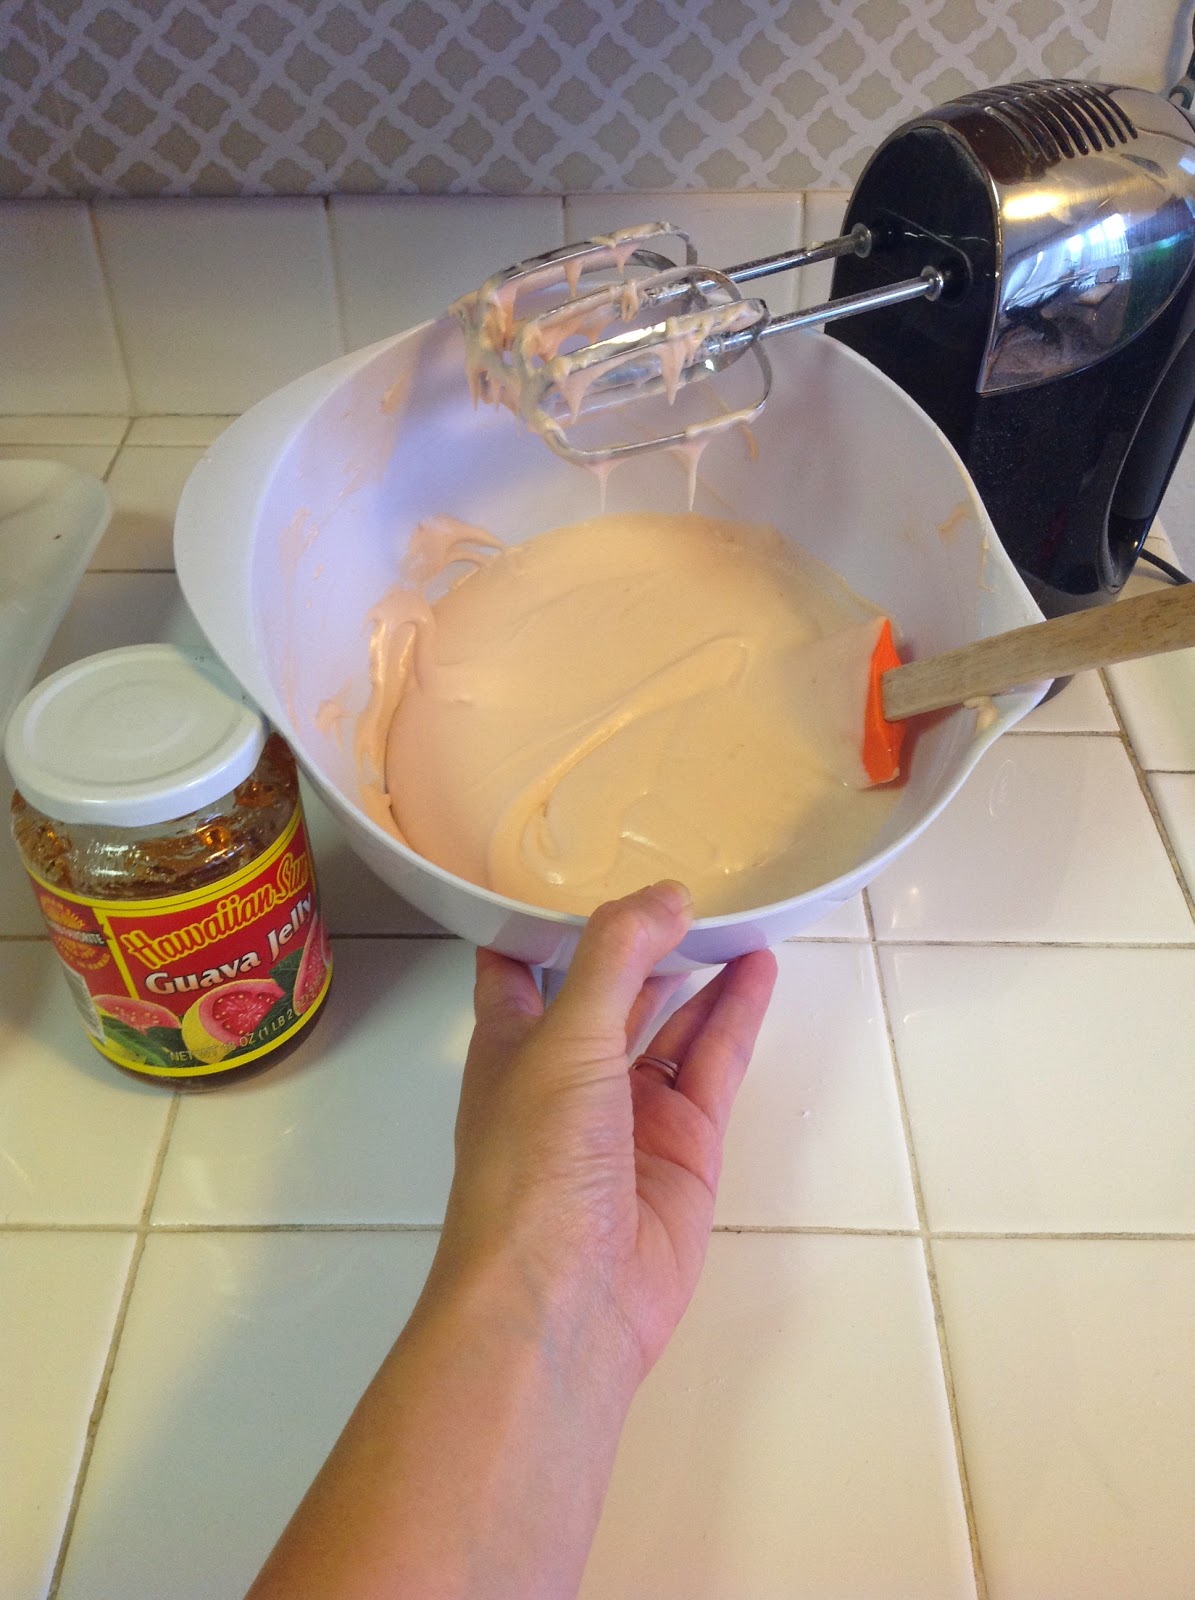

Here's the final product before I spatulaed it into a piping bag and keeping it in the fridge before the shells were ready. Of course the final steps are the same as my Cookie Dough French Macaron post when you wait until they're completely cool, remove them from the silicone mats, and put them together with some yummy buttercream filling.

If you decide to give my recipe a try, leave a comment below or you can use #blissfullyevercrafter so I can follow along! Thanks for reading!
Blissfullly Ever Crafting,
Jennifer Lynn


.JPG)

.JPG)
.JPG)